If there is something that you have always wanted to try or create, let me know and I will make it for you, critique it and post how to!
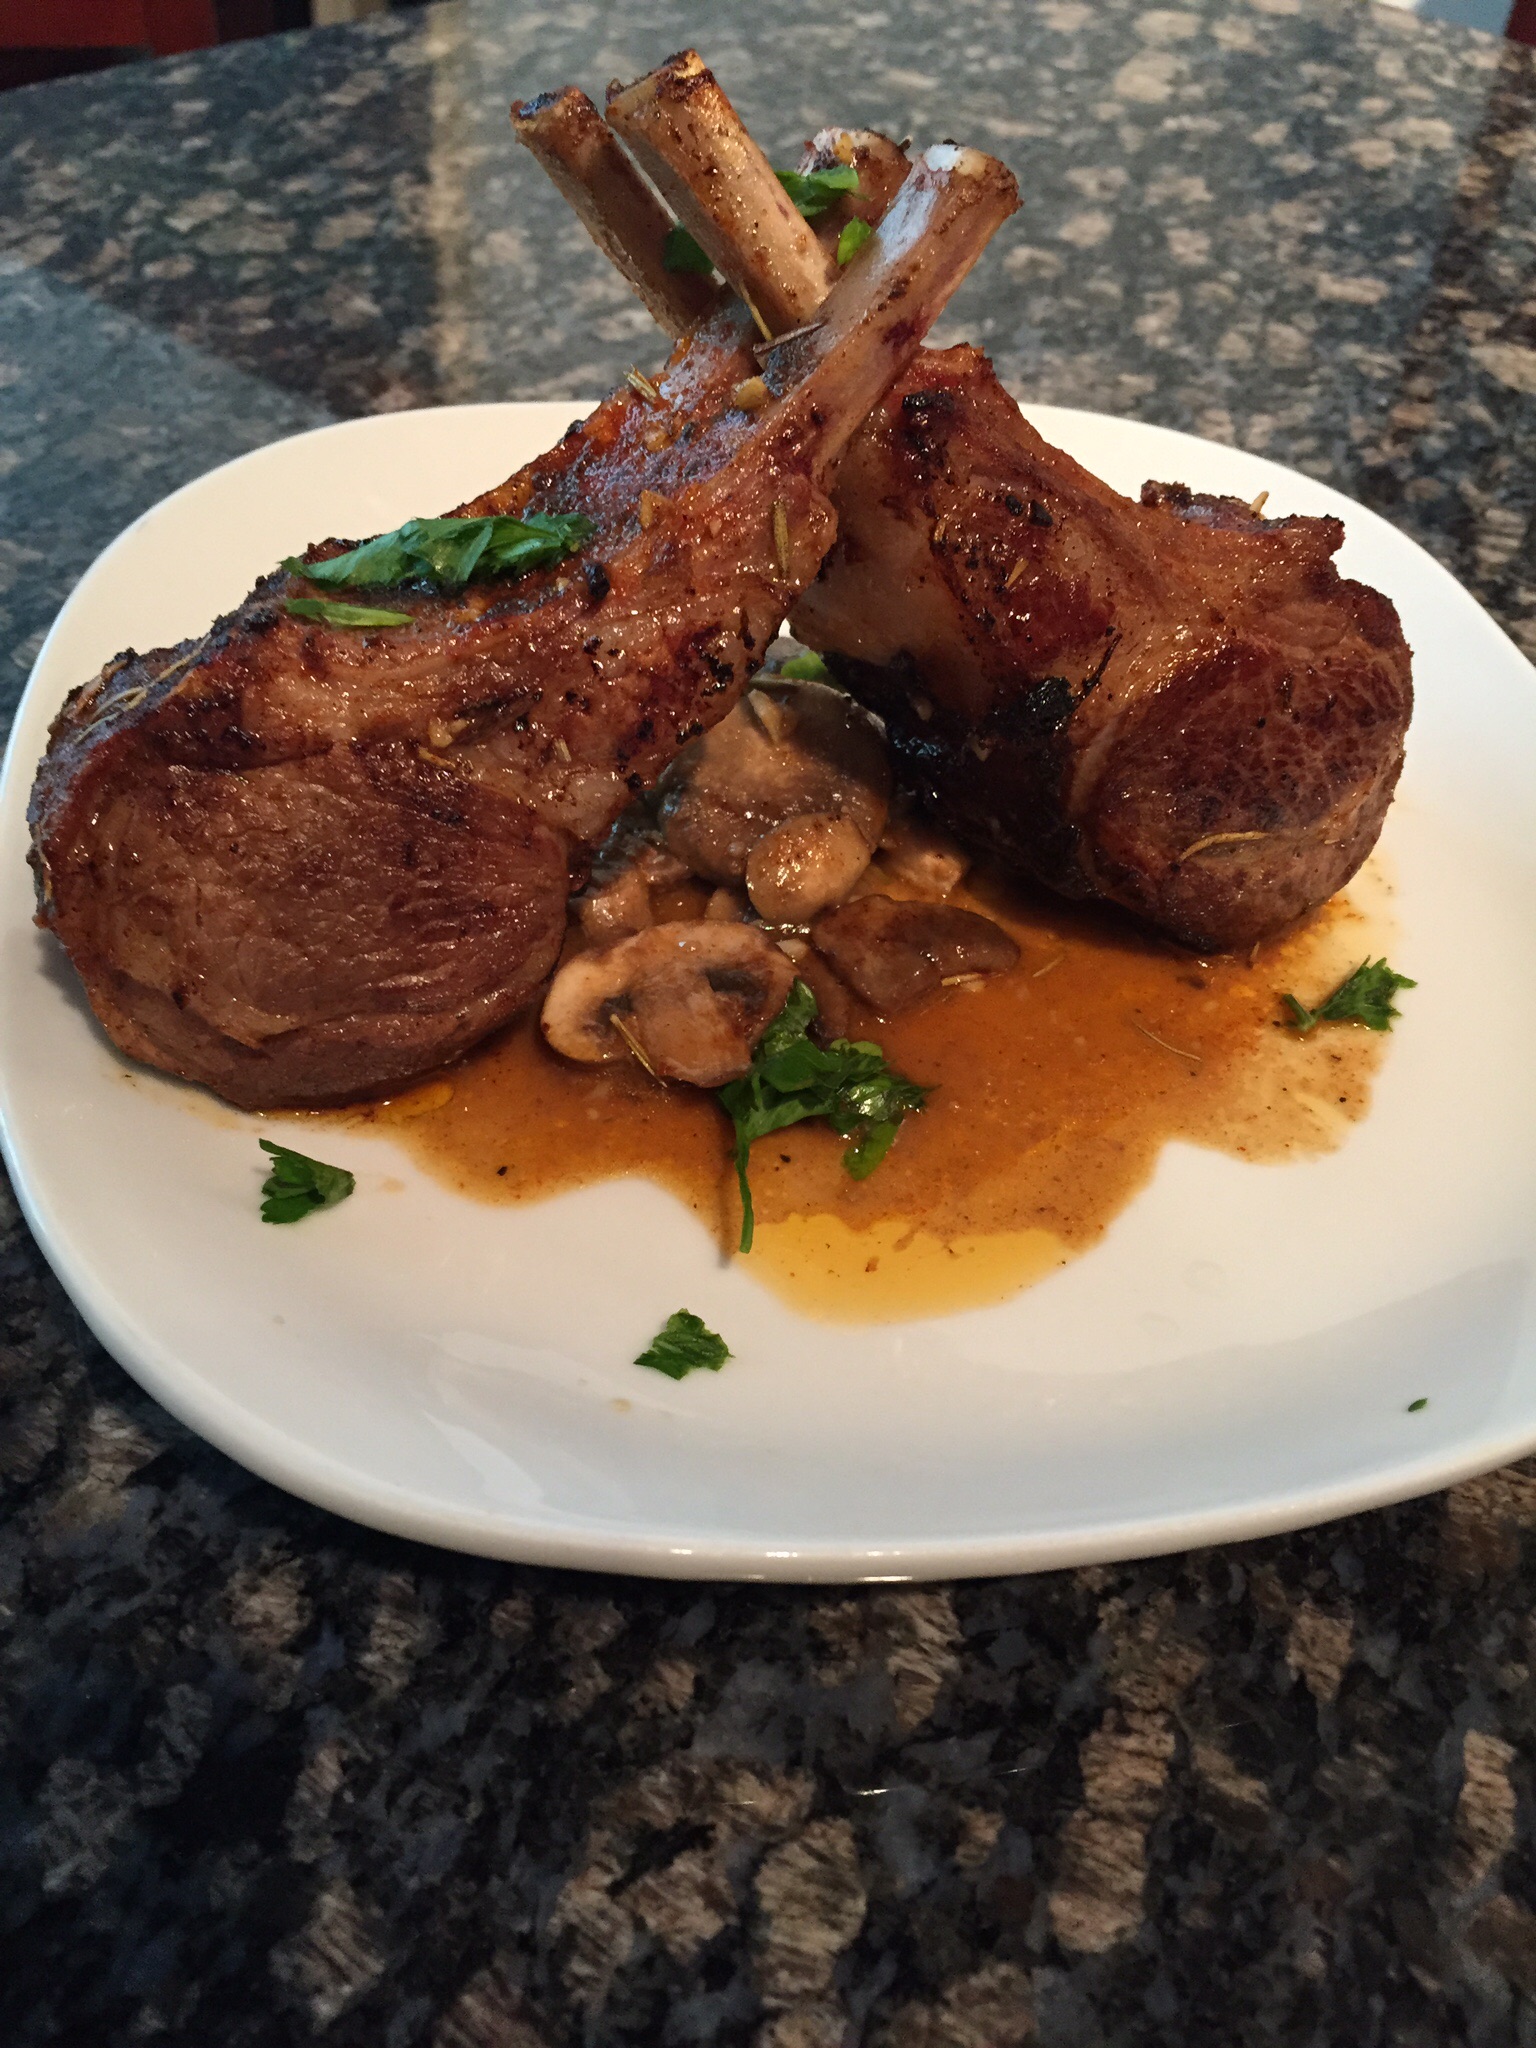
Super simple, quick and delicious Hungarian spiced lamb chops over a mushroom demi glaze!

If there is something that you have always wanted to try or create, let me know and I will make it for you, critique it and post how to!
Super simple, quick and delicious Hungarian spiced lamb chops over a mushroom demi glaze!
I have a confession to make. Up until last Thursday, I had never made Kimchi nor did i have a formal recipe. I did know the ingredients and spices necessary to create the fermented masterpiece. Well, today was the 7th day since I had placed my gallon glass jar of the delicious Kimchi. IT CAME OUT PERFECT!! The balance of sweet, sour, savory and spice made this one of the top 5 Kimchi’s I have ever tried and it was so easy. 
USEFUL TIP: Don’t have a recipe. Add ingredients in a bowl and continuously test until you get the desired taste. Too salty, add something sweet. Too sweet, add some acidity. Keep playing around and eventually you will get a great understanding of ingredients that compliment each other and those that should never be together.

I don’t know about you but in my house, we love Kimchi. My question to you is why pay $7.95 for a 12 ounce jar when you can make it yourself for about the same price but it will yield approximately a gallon!!
You will need:
Next:
Slice the end off of the Napa Cabbage. Separate and stack the leaves. Slice them down the middle length wise, then slice them across. You will end up with shapes similar to squares.
In a large bowl. toss the cabbage in the salt coating the leaves on both sides. Let the bowl sit for about 10 minutes and toss the leaves one more time. After about 10 more minutes the leaves should wilt down some and release water.
Add the Napa Cabbage squares to a large strainer. In handfulls, queeze access water out of the cabbage and place in your glass jar. Cover the jar with cold water and let it sit for 24 hours.
After 24 hours, remove the cabbage from the water. Squeeze out excess water and add to a large mixing bowl.
Take one extra large Daikon Radish (Stanley’s has great ones on sale now) peel it, 1/8 inch thick slice the radish length wise on all sides (you should know have something that looks close to a rectangle. Save Daikon rectangle). Cut in half the 1/8 inch thick slices and then Julianne them. You should end up with about 2 1/2 to 3 inch sticks.
In the bowl with the Napa Cabbage add the pressed garlic cloves, Julianne Daikon radish, pressed ginger, green onion stalks, fish sauce, Korean red pepper blend, sugar and mix well. Once everything is evenly coated add mixture into the glass jar and seal. You’re Kimchi is now ready for a 7 day nap in a cold dark place. During that 7 day period it will ferment and all your flavors will combine and mix to a delicious finished Kimchi that can be eaten by itself or a side. 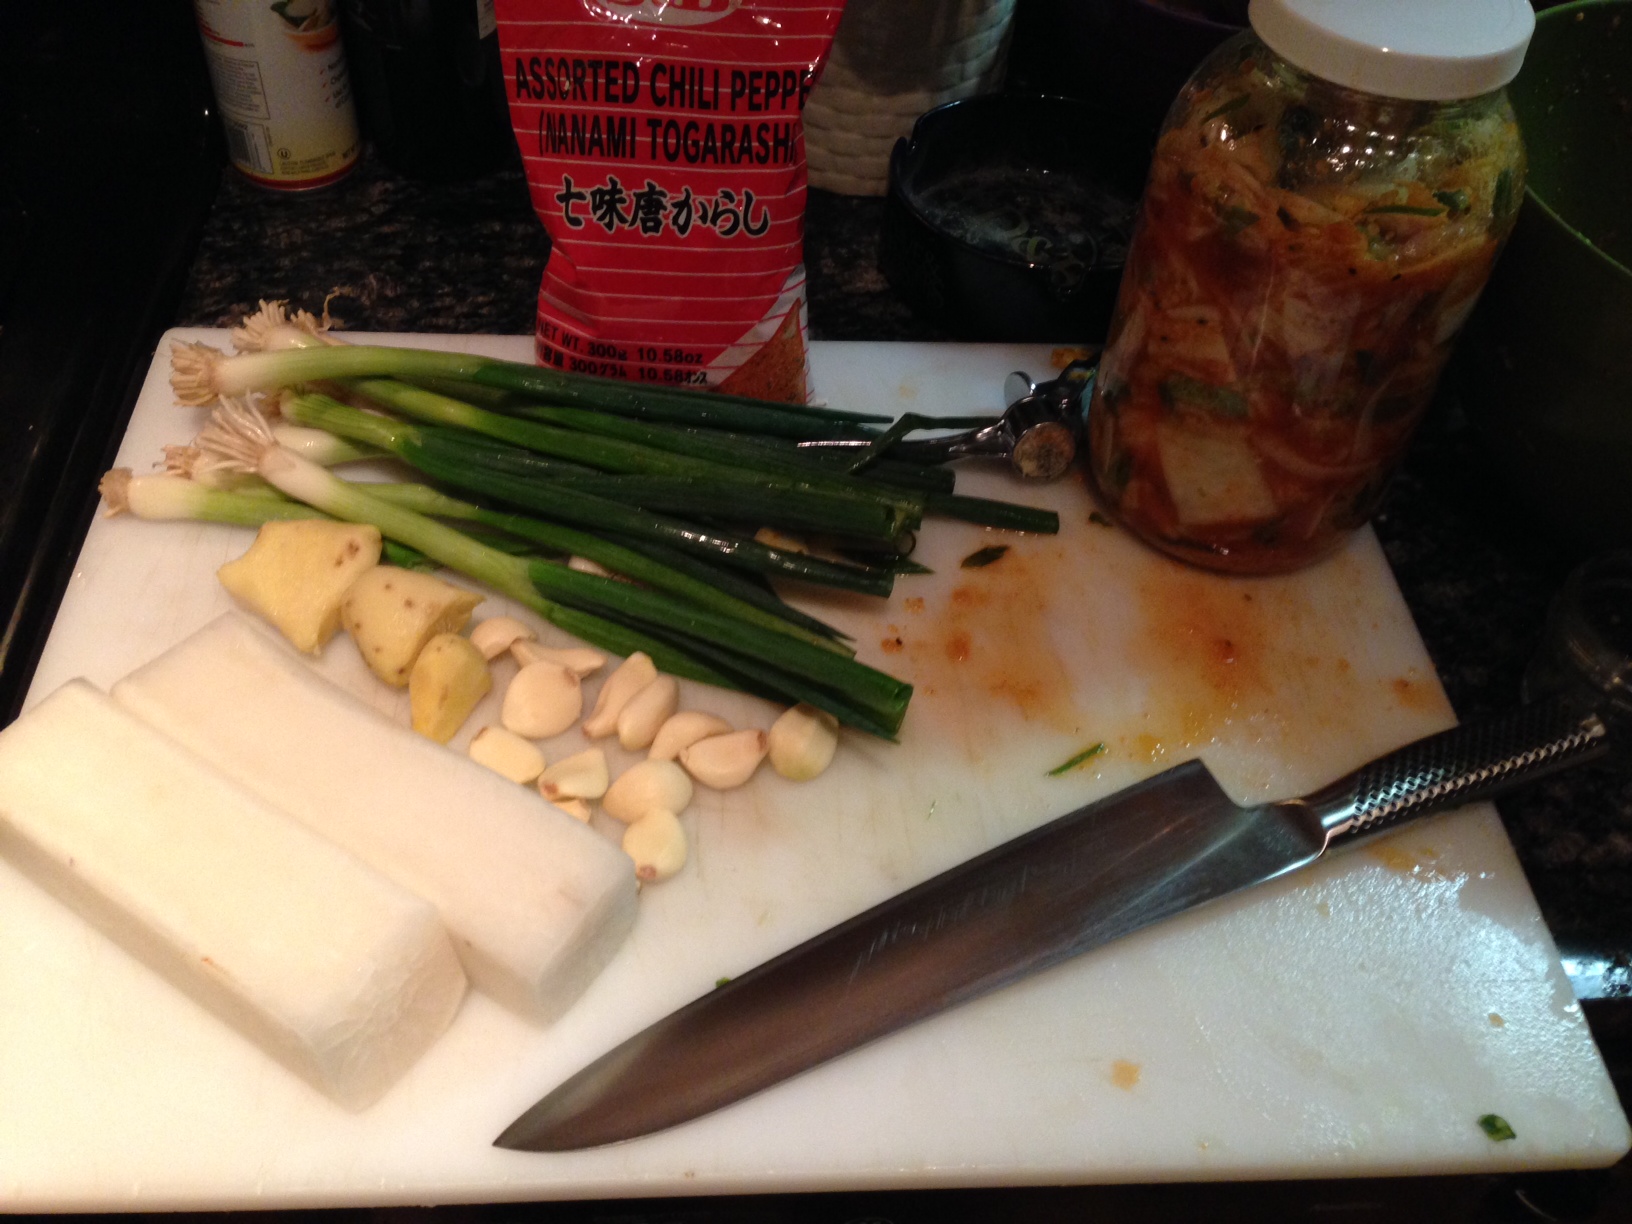
USEFUL TIP: Cut the remaining Daikon Radish into 1/2 inch by half inch cubes and salt just as you did above but let it sit for 3-4 hours in the salt bath. Rinse and Add all the same ingredients as above except for the Nappa Cabbage. Now you have Kimchi Daikon!

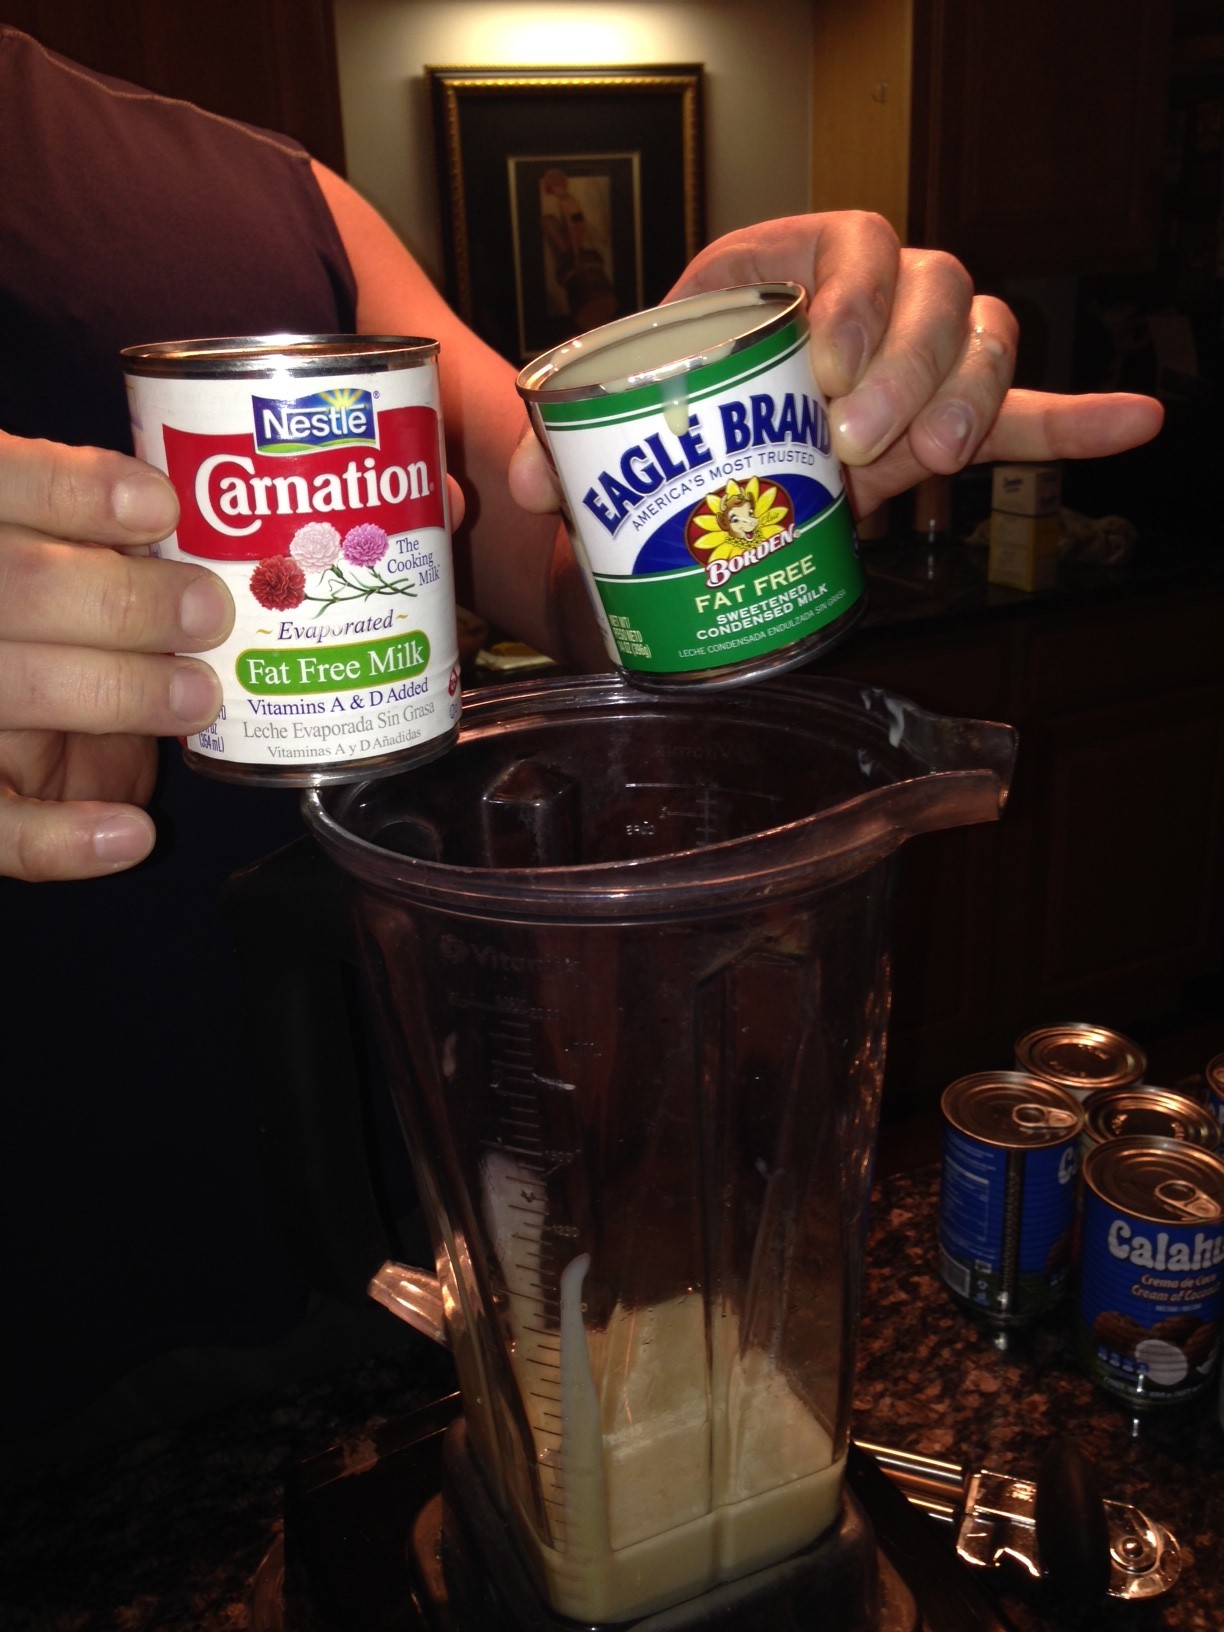
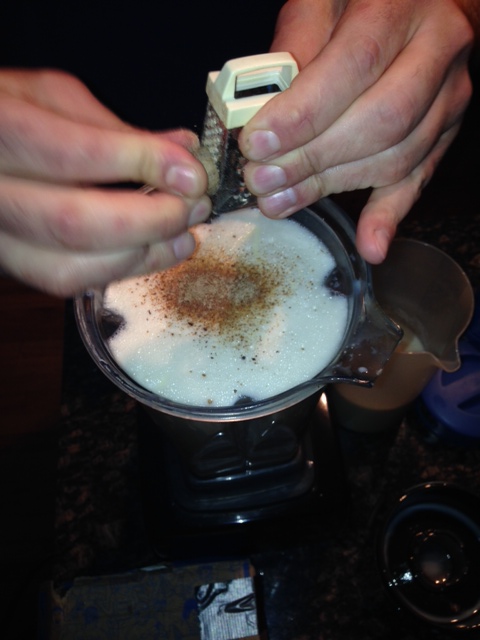
With the end of the holiday week, I wanted to post a recipe for all to taste. This one is simple, delicious and it packs a punch. Coquito is an old Puerto Rican Rum based drink that we typically drink during festive holidays. It’s excellent for those of you that don’t like the taste of alcohol and like something sweet at the end of your meal. This recipe is egg less.
You will need:
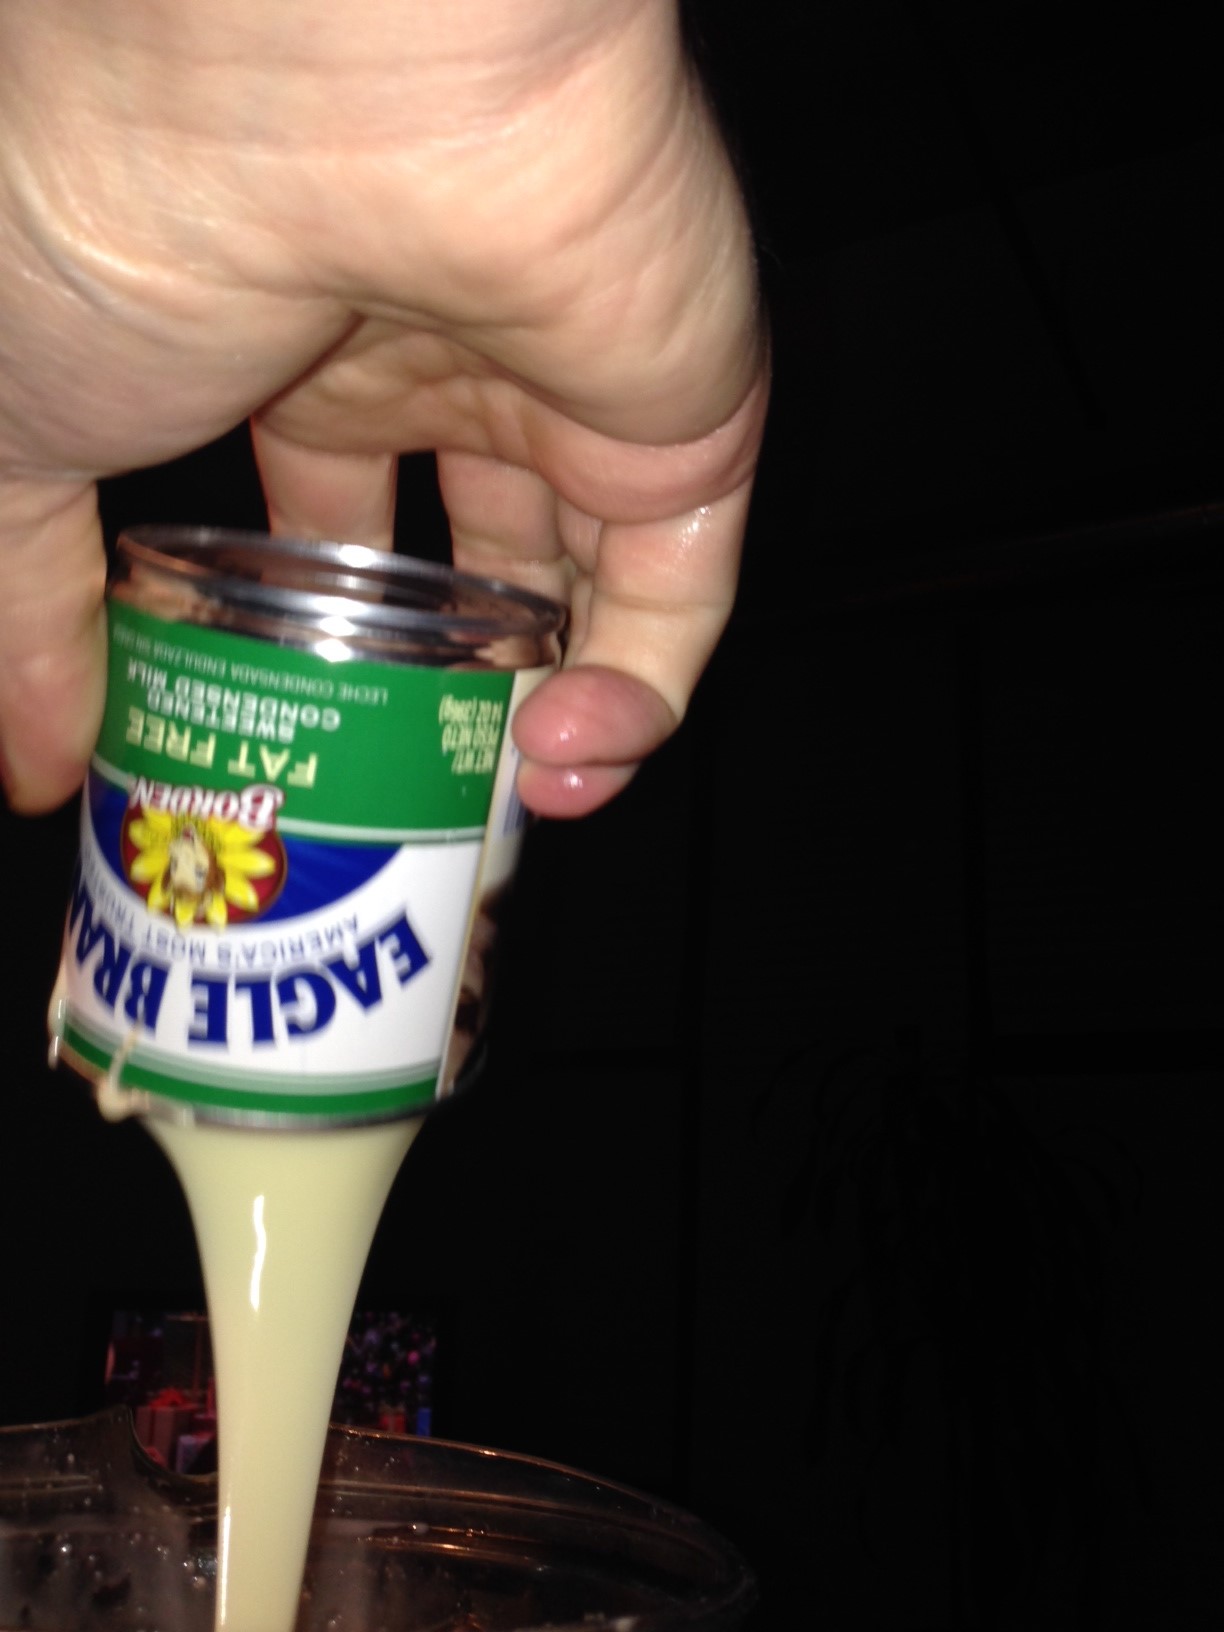
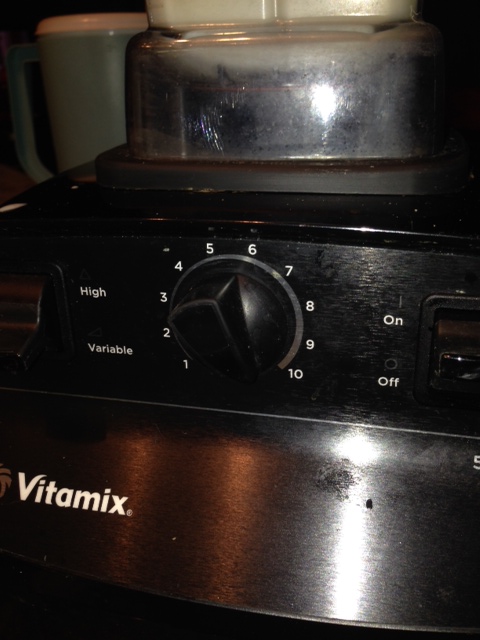
In the blender add all of your ingredients but the Rum. Mix well. You will now have the base for your Coquito. How strong you want it depends on you. With this mixture I use an entire 750ml bottle of Rum. You end up with about 2000ml of drink. You can serve it over ice and enjoy.


 Please note: This is the quick and easy way to make Coquito. Traditionalist will send me hate mail for showing this recipe. The true way to make this takes hours and includes fresh coconuts and a lot of muscle. If you would like to know the original recipe, message me.
![]()
Culinary Fight Club: Taste Bud Challenge #2
What did you miss at the Culinary Fight Club: Taste Bud Challenge #2?
And the winner is…. Chef Maggie Bleau! Winner of the Culinary Fight Club: Taste Bud Challenge #2! Chef Maggie is a Senior Sales Manager by day and passionate Chef & Foodie by night. She came to battle and was able to conquer the judges twist for the win.
Congratulations Miss Maggie! Your bacon, apple and potato stuffed Won Ton rocked the house!!

Check out Peter Bella’s write up on ChicagoNow. Thanks Peter. You were fantastic!

Check out our CFC Movie Trailer!! Coming to a Restaurant near you!


